

TypingMind
This documentation is provided for informational purposes only and demonstrates how to configure and use our API with third-party AI chat interfaces. Any third-party software, websites, or services mentioned are not operated, controlled, or endorsed by us.
Introduction to TypingMind
Section titled “Introduction to TypingMind”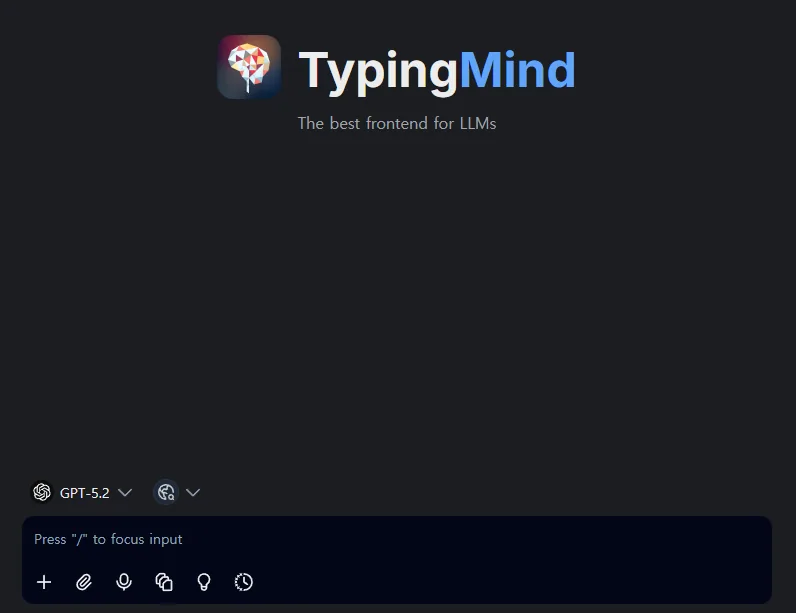
TypingMind is a professional, customizable chat interface (UI) that enables users to interact with multiple large language models (LLMs) such as GPT, Claude, and Gemini from a single platform. It offers enhanced features for organizing conversations, managing prompts, uploading documents for context (RAG), and building custom AI agents.
Key features include:
- Multi-provider model support with custom API configurations
- Advanced prompt library and conversation management
- Document upload capabilities for Retrieval-Augmented Generation (RAG)
- Options for personal use, team collaboration, and self-hosting for privacy
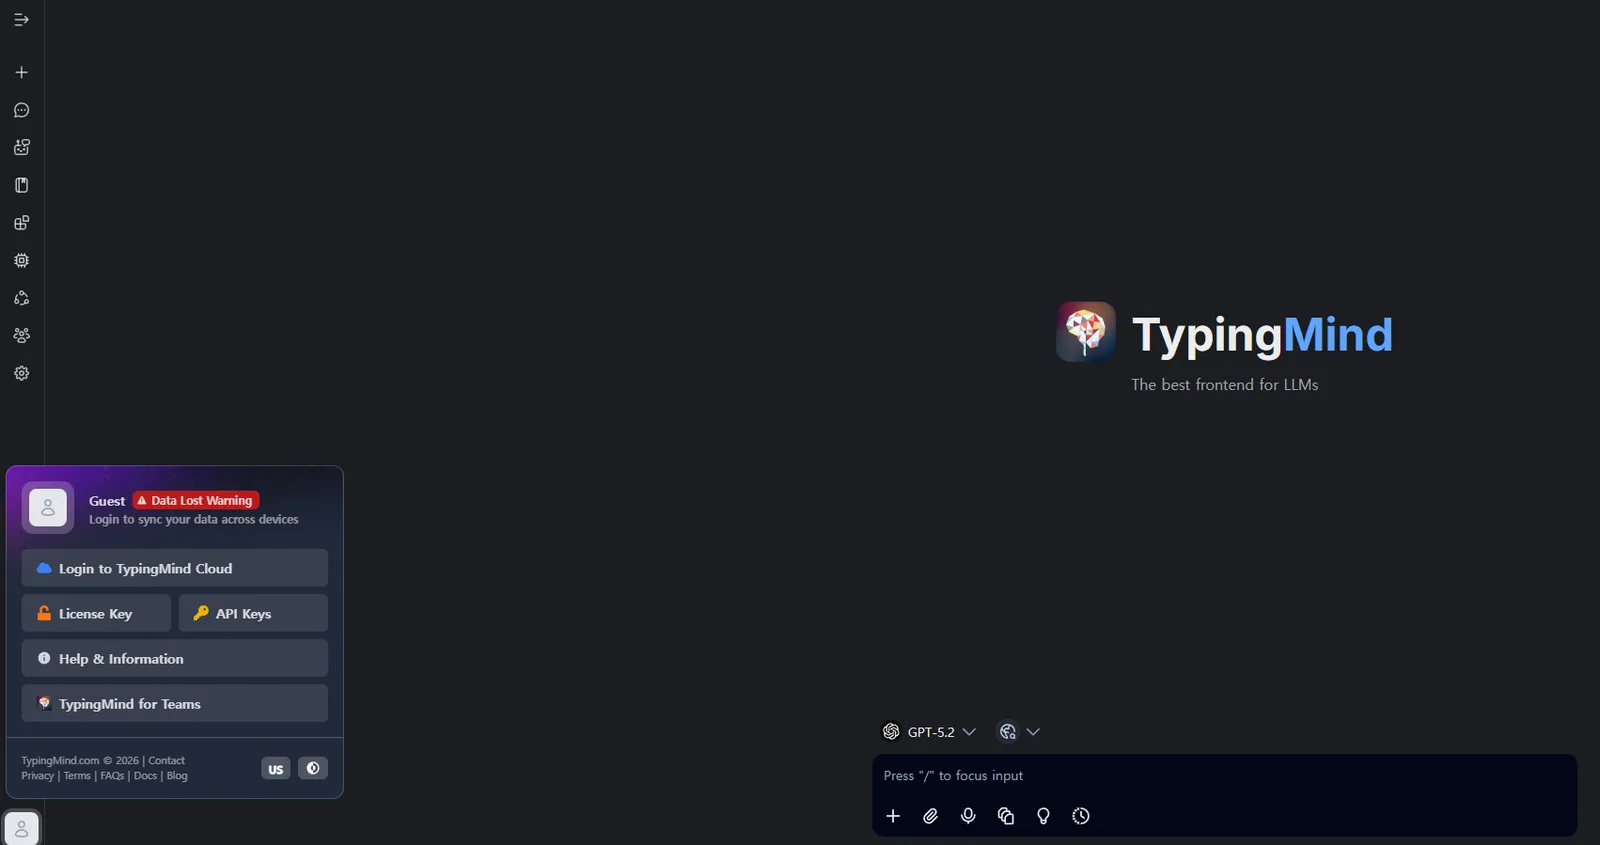
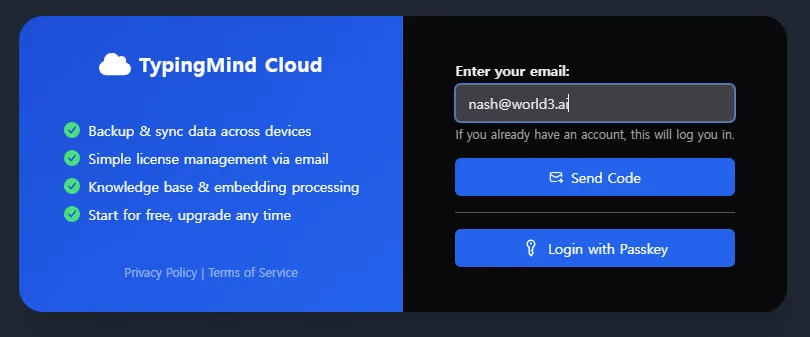
Access TypingMind
Add a Custom Model
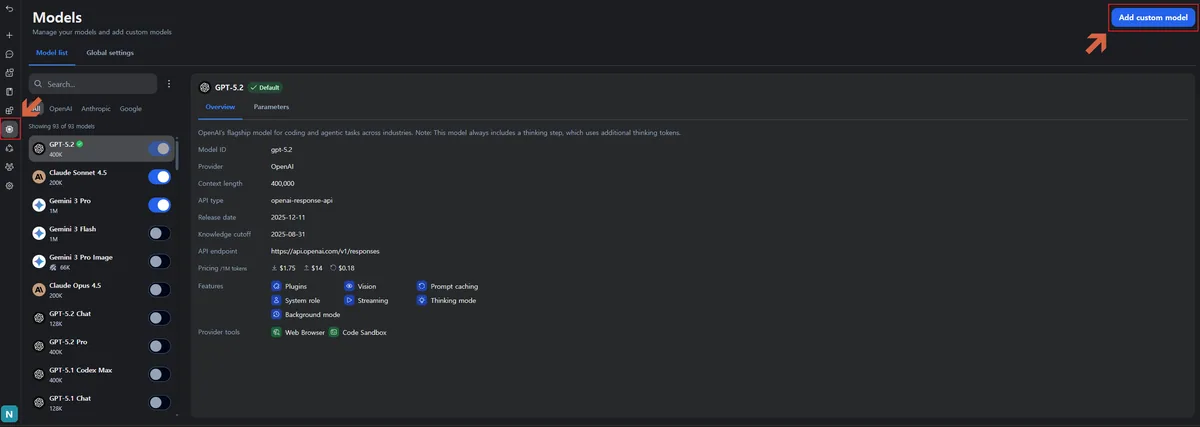
Click the Models icon in the left sidebar, then select “Add custom model”.
Configure Model Parameters
Creation Method: Select “Create Manually”.
Here are example model configurations compatible with both Anthropic and OpenAI formats.
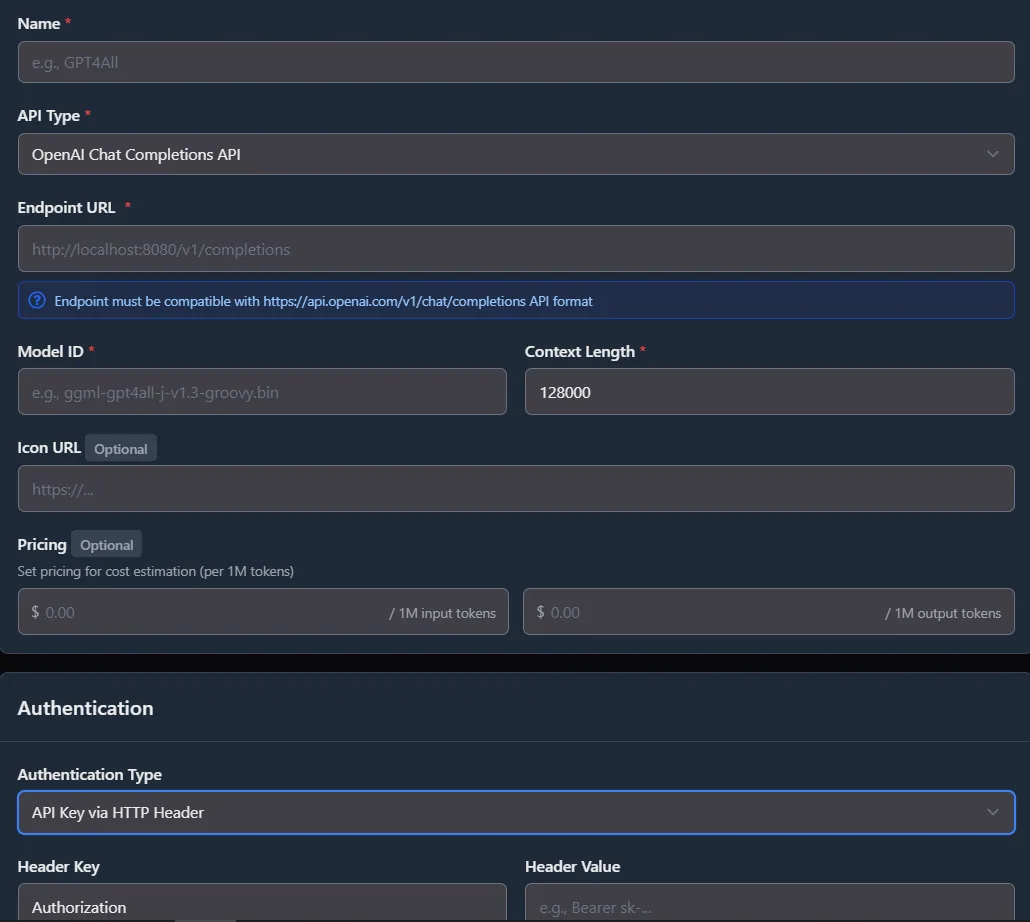
Claude Opus 4.7
| Field | Content |
|---|---|
| Name | anthropic/claude-opus-4-7 |
| API Type | Claude Messages API |
| Endpoint URL | https://router-link.world3.ai/api/v1/messages |
| Model ID | anthropic/claude-opus-4-7 |
| Authentication Type | API Key via HTTP header |
| Header Key | x-api-key |
| Header Value | <ROUTERLINK_API_KEY> |
Make sure to replace <ROUTERLINK_API_KEY> with your API key from RouterLink.
GPT-5.5
| Field | Content |
|---|---|
| Name | openai/gpt-5.5 |
| API Type | OpenAI Chat Completions API |
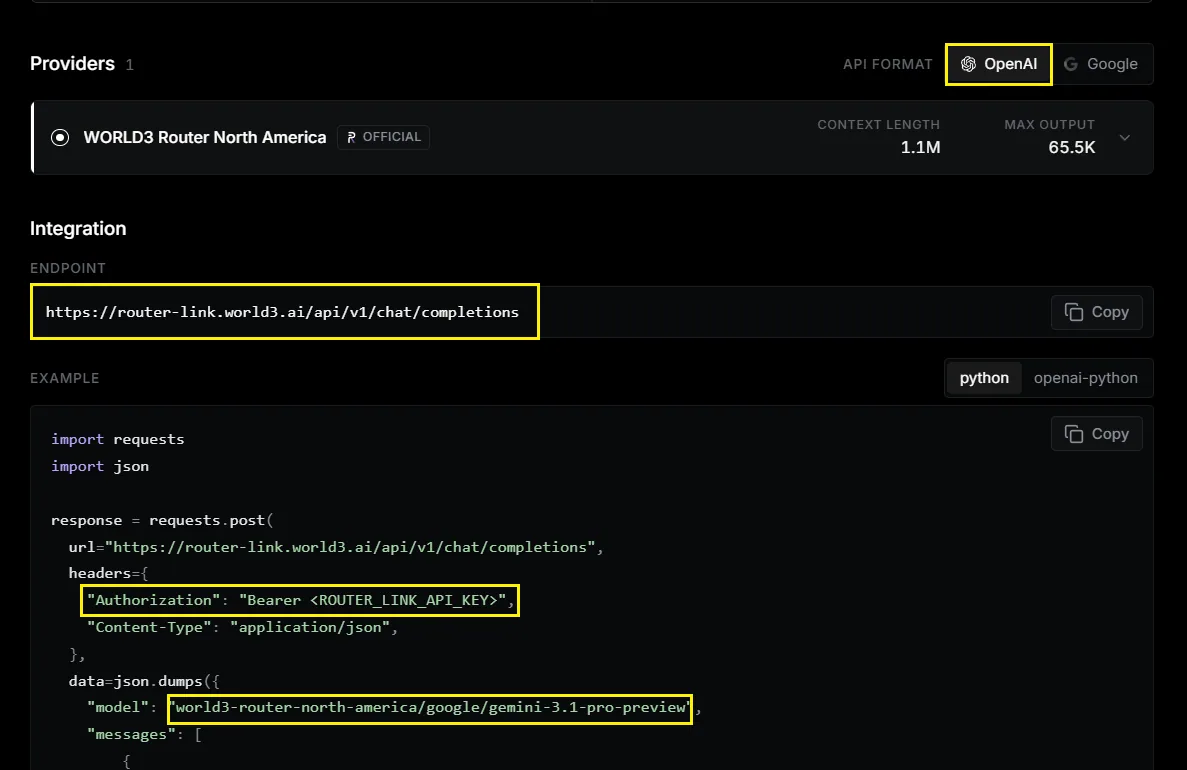
| Endpoint URL | https://router-link.world3.ai/api/v1/chat/completions |
| Model ID | openai/gpt-5.5 |
| Authentication Type | API Key via HTTP header |
| Header Key | Authorization |
| Header Value | Bearer <ROUTERLINK_API_KEY> |
Make sure to replace <ROUTERLINK_API_KEY> with your API key from RouterLink.
You can add other models based on these:
Validate Configuration
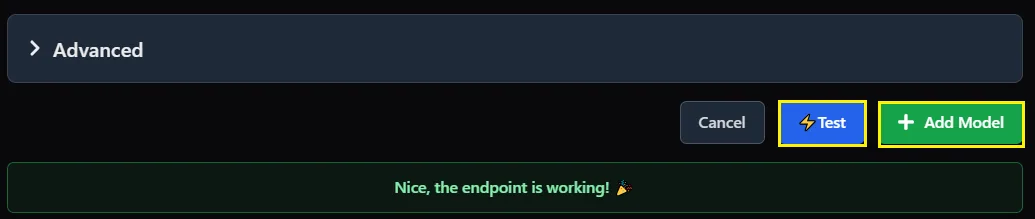
Click the “Test” button to verify the connection is working correctly.
Finally, click “Add Model”.
Initiate a Conversation
Click “Chats” in the top-left navigation area to access the conversation interface.
Select the model you just configured from the icon menu.
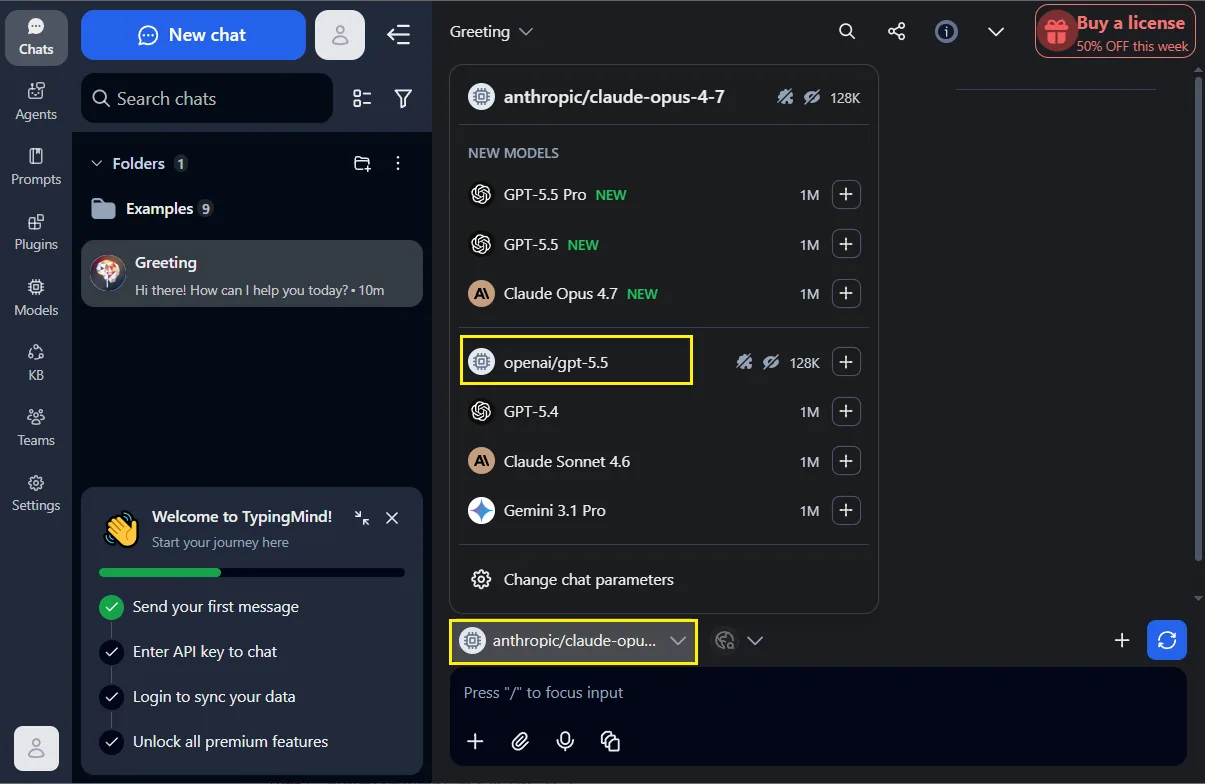
Enter your desired prompt to confirm the integration is functioning correctly.
Troubleshooting
Section titled “Troubleshooting”| Issue | Solution |
|---|---|
| Authentication failed | Verify your API key is correctly formatted with Bearer prefix (including the space) |
| Model not responding | Confirm the model ID matches the exact format from the RouterLink documentation |
| Connection timeout | Check your network connectivity and ensure the API endpoint URL is correct |
| Test button fails | Verify all custom headers are properly configured (Authorization and Content-Type) |