This documentation is provided for informational purposes only and demonstrates how to configure and use our API with third-party AI chat interfaces. Any third-party software, websites, or services mentioned are not operated, controlled, or endorsed by us.
Codex is OpenAI’s coding agent for software development. ChatGPT Plus, Pro, Business, Edu, and Enterprise plans include Codex. It can help you:
Codex Key Features:
Write code: Describe what you want to build, and Codex generates code that matches your intent, adapting to your existing project structure and conventions.
Understand unfamiliar codebases: Codex can read and explain complex or legacy code, helping you grasp how teams organize systems.
Review code: Codex analyzes code to identify potential bugs, logic errors, and unhandled edge cases.
Debug and fix problems: When something breaks, Codex helps trace failures, diagnose root causes, and suggest targeted fixes.
Automate development tasks: Codex can run repetitive workflows such as refactoring, testing, migrations, and setup tasks so you can focus on higher-level engineering work.
RouterLink has already prepared installation scripts for you. You can run the following commands for one-click installation of Node.js and the corresponding coding agent.
After installation is complete, open the terminal (Windows users use PowerShell) and check the version number.
macOS, Linux, Windows:
Terminal window
npmi-g@openai/codex
Verify the installation.
Terminal window
codex--version
If the version number is displayed correctly, the installation is successful.
App
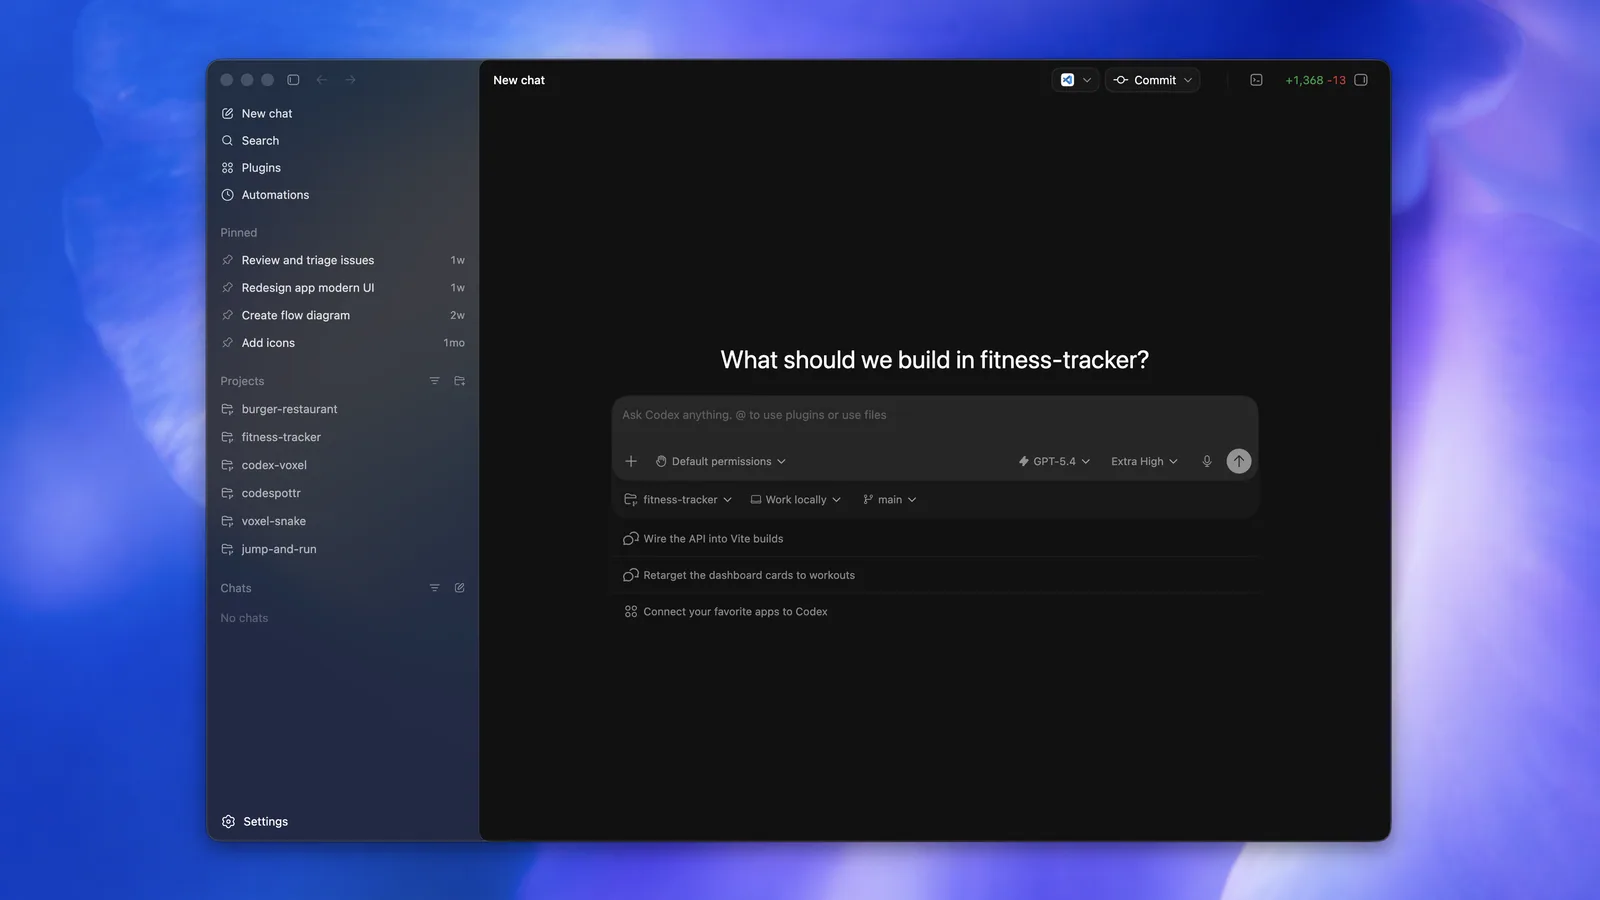
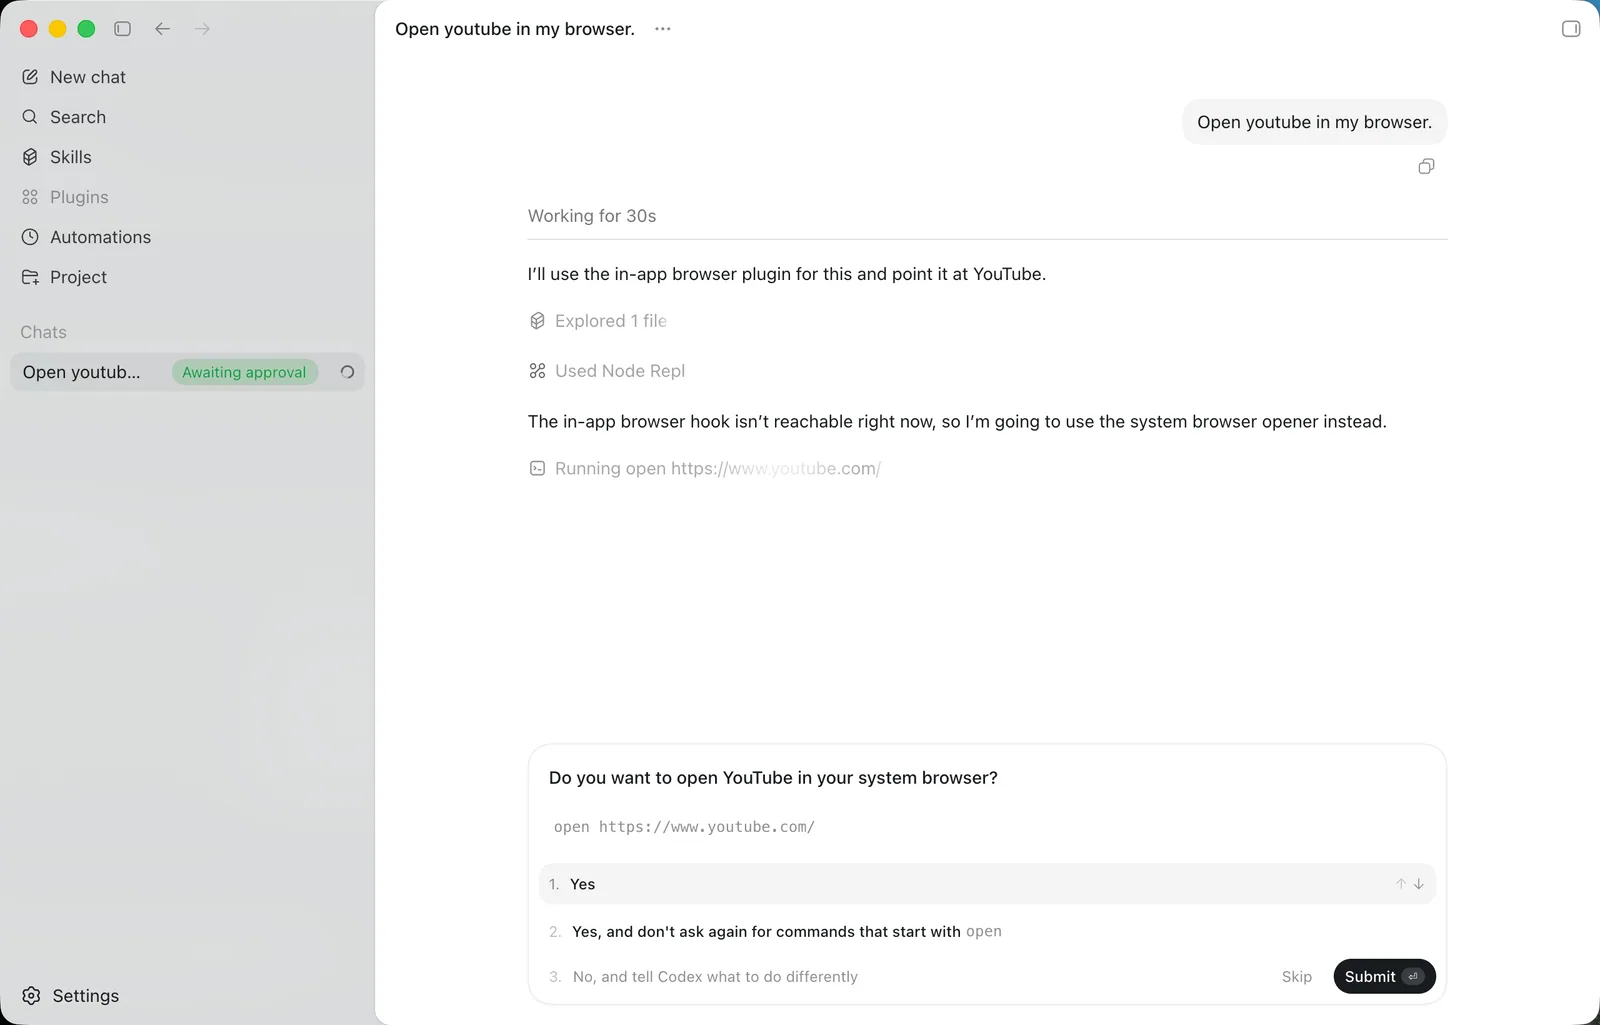
The Codex app is available on macOS and Windows.
Please follow the tutorial to complete the installation.
VS Code Extension
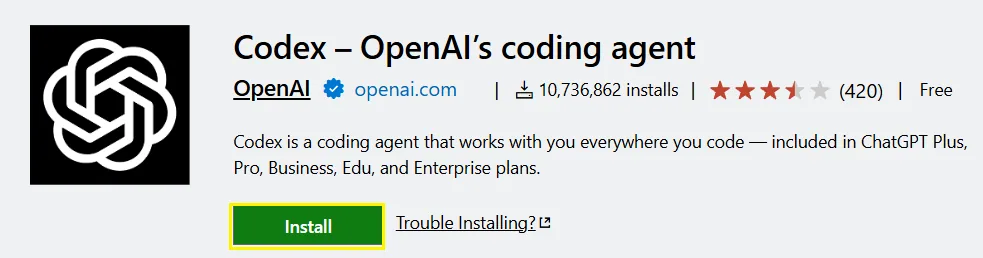
Install the Codex Code extension from the VS Code Marketplace — Codex is OpenAI’s coding agent that helps you write, review, and ship code faster. Use it side-by-side in your IDE or delegate larger tasks to the cloud.
Install Codex
CLI - Node.js
RouterLink has already prepared installation scripts for you. You can run the following commands for one-click installation of Node.js and the corresponding coding agent.
After installation is complete, open the terminal (Windows users use PowerShell) and check the version number.
macOS, Linux, Windows:
Terminal window
npmi-g@openai/codex
Verify the installation.
Terminal window
codex--version
If the version number is displayed correctly, the installation is successful.
App
The Codex app is available on macOS and Windows.
Please follow the tutorial to complete the installation.
VS Code Extension
Install the Codex Code extension from the VS Code Marketplace — Codex is OpenAI’s coding agent that helps you write, review, and ship code faster. Use it side-by-side in your IDE or delegate larger tasks to the cloud.
Configure Codex
Codex uses the config.toml file to parse provider parameters. Please locate and create/edit this file according to your operating system.
Edit or createconfig.toml file
On macOS & Linux: ~/.codex/config.toml
On Windows: C:\Users\<USERNAME>\.codex\config.toml
Delete the previous content and replace it with the following.Configuration file:
Terminal window
model_provider="custom"
model="gpt-5.6-sol"
model_reasoning_effort="high"
disable_response_storage=true
[model_providers.custom]
name="custom"
wire_api="responses"
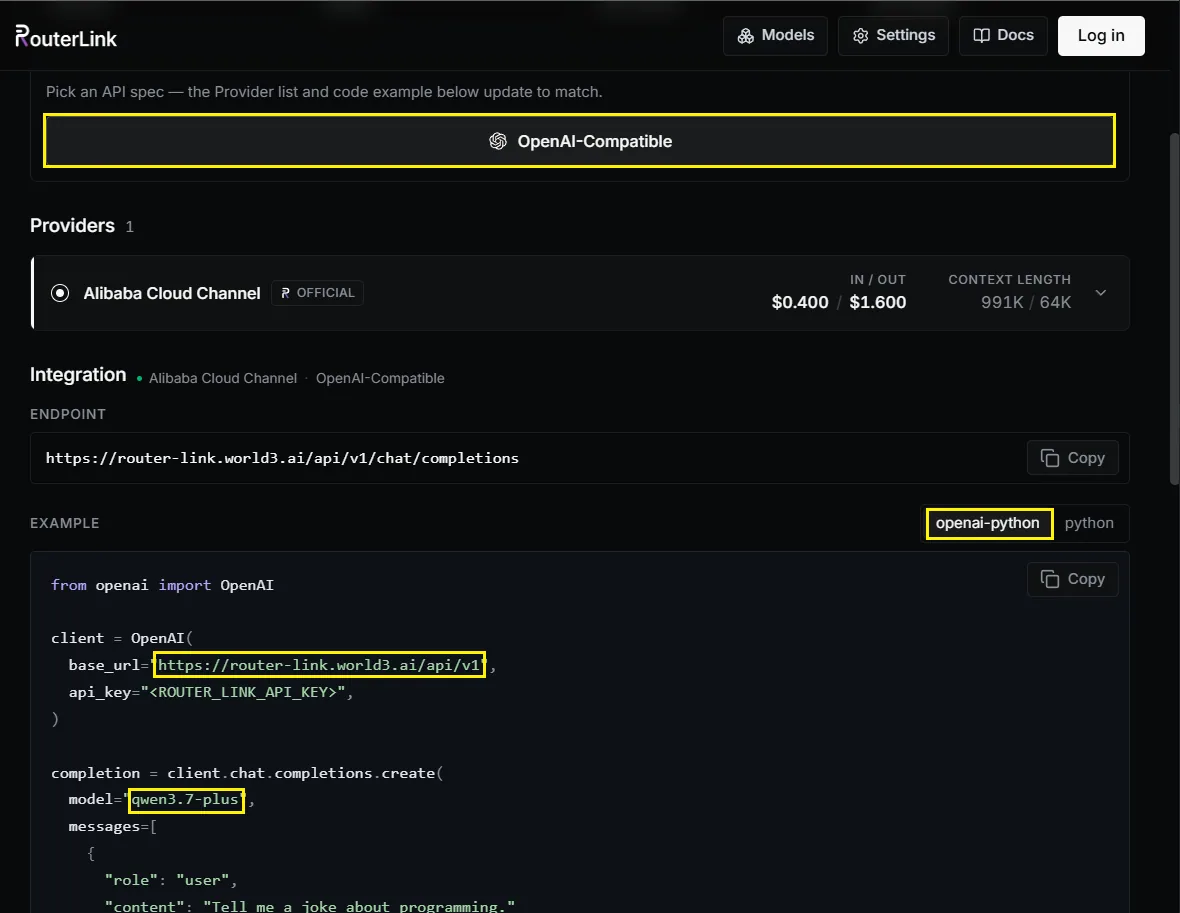
base_url="https://router-link.world3.ai/api/v1"
You can replace the “model” field with any model that is compatible with the OpenAI format:
Next, edit or createauth.json file. Codex uses this file to read the API key.
On macOS & Linux: ~/.codex/auth.json
On Windows: C:\Users\<USERNAME>\.codex\auth.json
Make sure to replace <ROUTERLINK_API_KEY> with your API key from RouterLink. When replacing it, do not keep the angle brackets < and >.
{
"OPENAI_API_KEY": "<ROUTERLINK_API_KEY>"
}
Codex Loading and Validation
CLI
Windows users may encounter issues running the software due to missing VC runtime libraries. Please download and install this software.
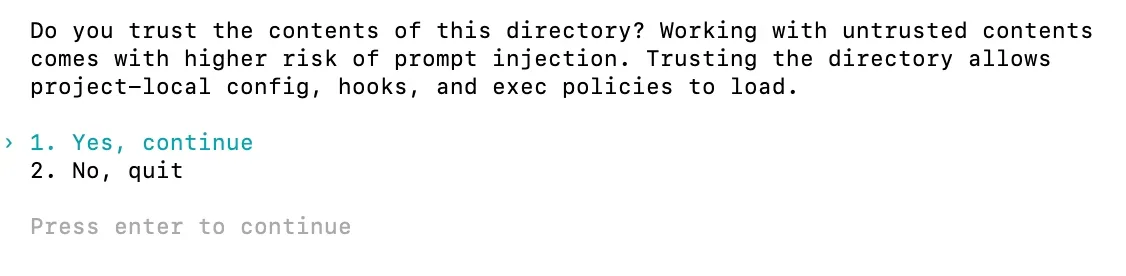
Navigate to your code working directory and run the codex command in the terminal
Terminal window
codex
Select “Yes” to trust this folder.
Now you can use Codex CLI.
App
Open Codex App. If prompted to choose, select “sign in with your OpenAI API key” and enter your API key from RouterLink.
Now you can use Codex App.
VS Code Extension
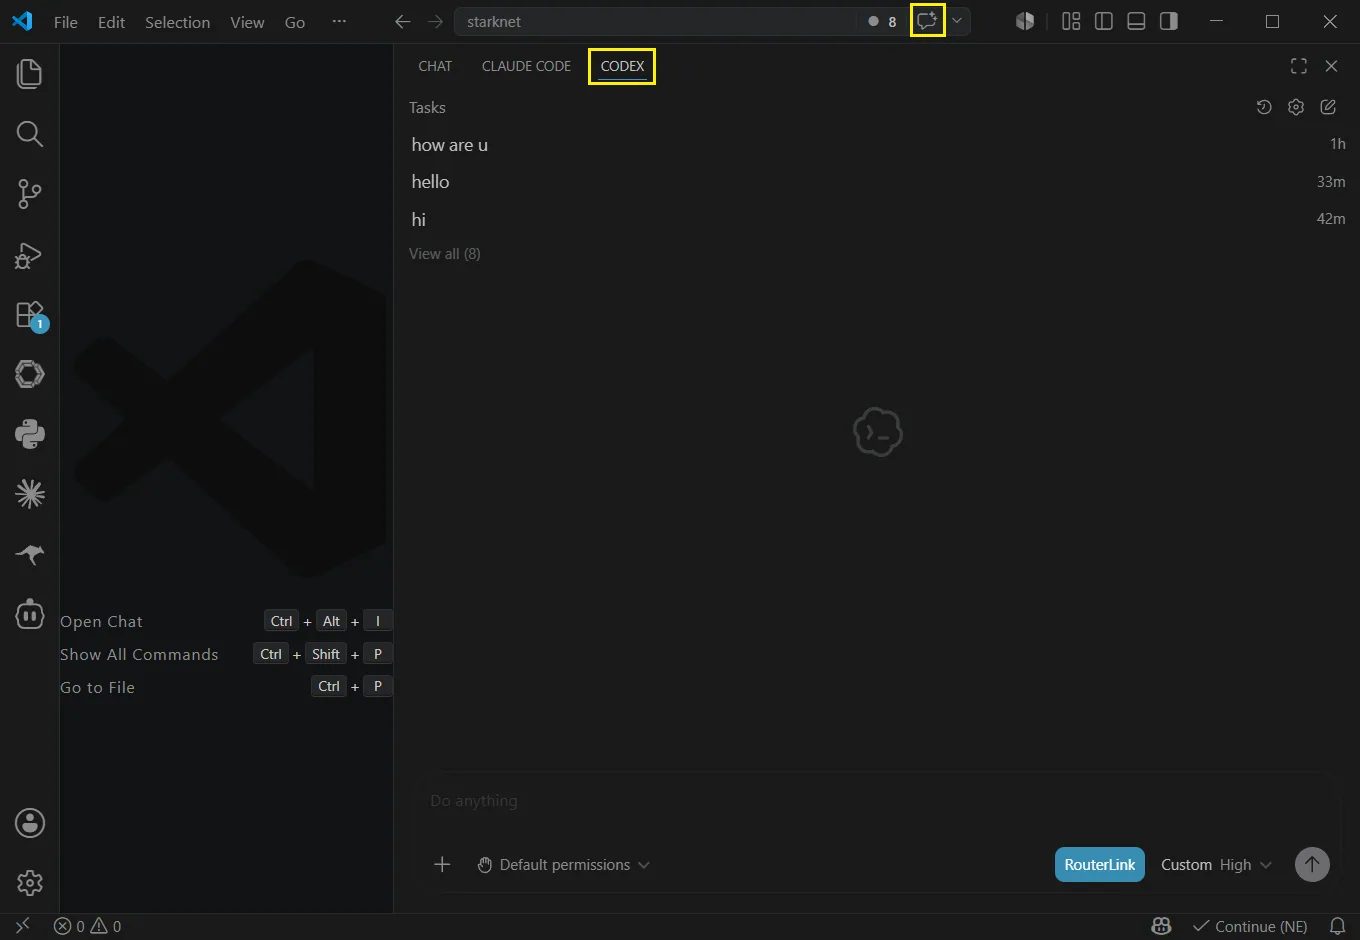
Click the Toggle Chat button at the top (shortcut: Ctrl+Alt+I), then click Codex.